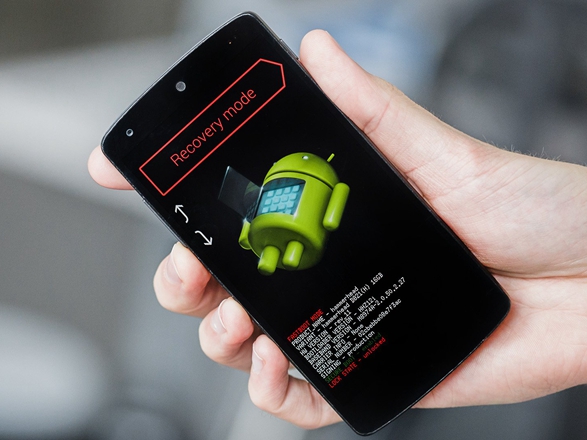
“Android System Recovery” or “Android Recovery Mode” is actually a recovery console present in smartphones which allow users get the phone out of some troubles. It can turn out to fix your system problems, wipe data and partition cache, install system update or flash a custom ROM, unlock the bootloader or root your phone. Though this mode is meant for help of users, things don’t really look pretty when you get stuck in this tiny and complex area unexpectedly. Going back from this stage can cause loss of important data stored in the memory of the phone. This problem can easily be tackled by just getting a little insight of how do the things work.
Part 1: How to Backup and Restore Phone Data with Recovery Mode
Part 2: How to Fix Android Stuck in Recovery Mode
Part 3: How to Enter Android Recovery Mode Safely
One of the first things you should do when you try to get your phone out of recovery mode is backup your phone data to prevent data loss. Luckily some of the custom Android Recovery Mode such as TWRP and CWM offer option for taking a backup of all your data in the SD Card in Phone. Here is how to proceed with it –
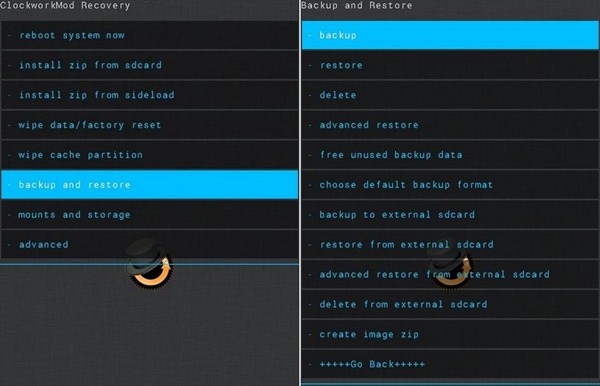
Step 1 – In Recovery Mode on your Android device, navigate to the option “Backup & Restore” using Volume keys and then press Power key to select this option.
Step 2 – Selecting ‘Backup’ in this option will backup your data in a directory in SD Card in the ‘Recovery > Backup’ folder.
Step 3 – Now, go to next part to fix your phone if you are stuck in recovery mode. Resetting does not affect the data on SD Card.
In order to restore from the backup, follow these steps:
Step 1 – Enter Recovery Mode on your Android Device after your fix the problem. Now navigate to the option “Backup & Restore” using Volume keys and then press Power key to select this option.
Step 2 – Selecting ‘Restore’ in this option will ask you about the backup file from where data is to be restored. You can select the backup file from the Recovery > Backup directory in SD Card.
Step 3 – After selecting, the process of restoration will begin and once the process is complete, you will be notified for the same.
Getting out of this situation is quite easy, and here is the procedure.
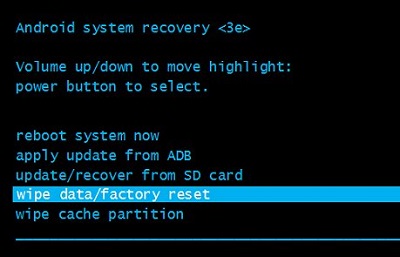
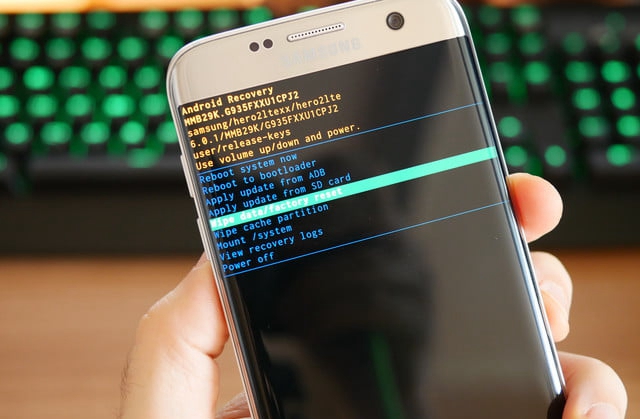
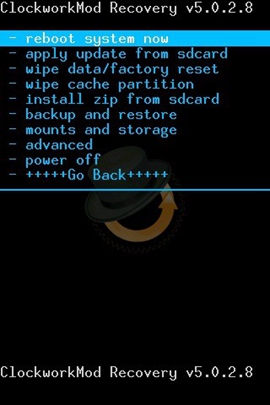
Step 1 – In recovery mode menu, scroll down to “Wipe Data/ Factory Reset” option using Volume Down key and then press Power key to select the option.
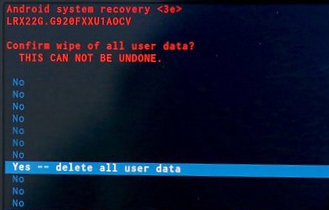
Step 2 – Again, scroll down to “Yes — Delete All User Data” using Volume Down key and then press Power key to select the option.
Step 3 – After above all steps, select the “Reboot system now” option to restart your phone.
The procedure to enter Android recovery mode may vary a little according to brands, here is the procedure to boot in recovery mode for some different brand phones.
Samsung Phones
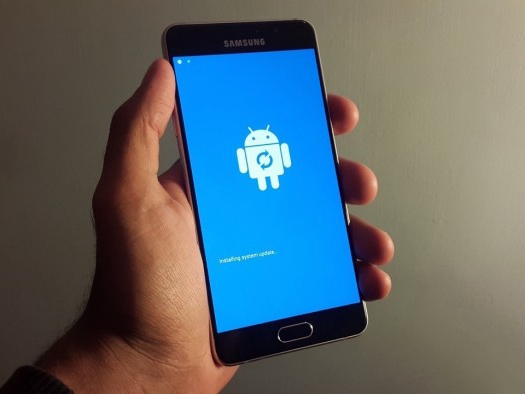
Step 1 – Power off your Samsung device. Press and hold Volume Up + Home + Power until installing system update screen comes up.
Step 2 – After about 10 seconds, you will see another screen with the big ‘!’ logo as shown below.
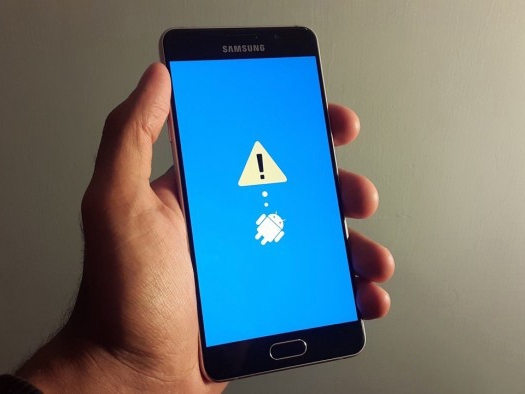
Step 3 – Wait for a while and your phone will enter recovery mode.
Moto, Google Pixel/Nexus
Step 1 – Turn off your phone first.
On Moto device, hold Power + Volume Up key. On Google Pixel/Nexus, hold Power + Volume Up key.
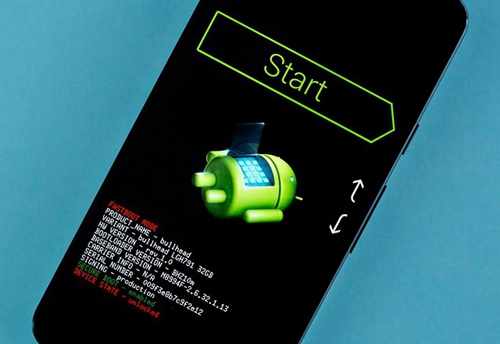
After about 10 seconds, you will see an Android Symbol and a few lines of device information pop-up on your display. You should be able to spot a ‘Start’ Button at top right corner now.
Step 2 – Now you can use the Volume keys to navigate (Volume Up, navigate to the option above, Volume Down, navigate to the option below) through options and Power key to use them. Press Volume Down key twice to see Recovery Mode on your screen, then use the power key to select the option.
Step 3 – You will see a Google Logo followed by Android Logo immediately and then displaying ‘No Command’ at the bottom of your screen.
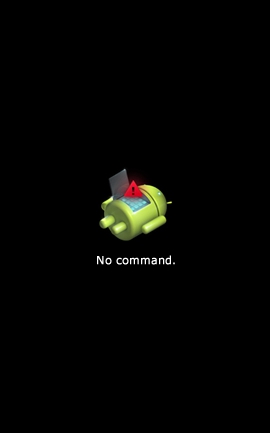
Step 4 – Now comes the final step of this easy procedure. This time, press Power key and Volume Up key for nearly 3 seconds, then release the Power key but keep holding the Volume Up key. This will open up the Android Recovery Menu where you can see many options to scroll through (using Volume Keys) and
LG Phones
Press and hold Volume Down + Power key until LG logo is visible, then select Recovery Mode by scrolling using Volume key and then select it by pressing Power key.
In this manner, the ‘Android Recovery Mode’ can turn out to be a great asset in bad times, and always remember the above steps if you ever get stuck in this menu. In conclusion we can say that Android Recovery Menu is a useful feature in Android Phones to get rid of small software issues and to backup & restore all the data on the phone.