In Facebook, you can be able to send friend requests to various people and all of you can share your daily experiences on your timelines. Facebook has made it possible for friends to reconnect after long years of not seeing each other for long. At times, Facebook can be a headache to some. This can be seen one is constantly shamed in front of all the Facebook audience and starts feeling depressed. You might also feel that Facebook as a platform is becoming too monotonous and not cool anymore and it is becoming a sort of distraction.
There is an option to this if you need that break from facebook. Here you can either deactivate your facebook account or permanently delete it. Here is how you can deactivate or permanently delete your Facebook account.
How to Temporarily Deactivate Your Facebook Account
How to Permanently Deactivate Your Facebook Account
How to Download a Copy of Your Facebook Data
To Deactivate or To Delete Your Facebook Account
You may want to temporarily deactivate your facebook account for a short term if you do not want to totally be locked out of accessing its services. You can simply delete the application from your phone to keep it from distracting you. The problem with this method is that you will still be able to access your account through its website and your profile will still be viewable by other Facebook users.
Another way to go with this is by deactivating your account temporarily on the settings menu on your account. Here are the steps you will use to achieve your need;
Step 1. Log in to your facebook account and find the settings menu. In the website, it is mostly located to the left side of the homepage. While using the mobile phone application it can be found on a drop-down menu on either side or down on the homepage.
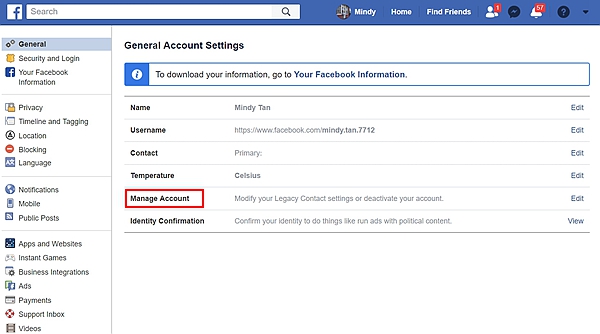
Step 2. Once you locate the settings icon, click on it and it will bring you many options. Tap at the general settings tab.
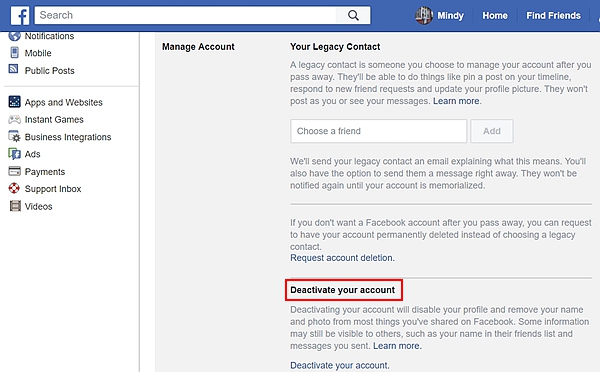
Step 3. On the general settings tab click on the manage account tab you will see an option deactivate your account’, click on this icon.
Step 4. On clicking the deactivate your account’ tab it will lead you to another page with the question, are you sure you want to deactivate your account?”
You will be asked various questions pertaining to why you really want to quit Facebook. You will always be given options to use to deal with the nagging problem at hand.
Step 5. If you are an administrator of any pages on facebook you will be required to add another admin to run the page to keep the pages running and accessible by other users. You can also opt out of receiving email alerts and using messenger services if preferred.
Step 6. Then you click on deactivate and your account will be temporarily deactivated. You will be prompted to the first key in your account’s password and it is done.
The benefit with this mode is that you will be able to access your Facebook account on logging in. Also, you may receive email updates and messages from your messenger app if you chose too in the options.
Other users will not be able to view your profile at all and cannot access you in searching by your username. However, your profile information including your photos messages and previous posts will remain intact and will be accessible on logging in to your account.
This action is mostly prompted by a more severe push or at times choice. It might be in situations such as cyberbullying where a user is constantly ridiculed and tormented by other users leading to depression and general anger from the recipient. Other reasons may include age limits or general boredom.
With this action, you will lose all your information from Facebook and everything such as your profile and messages will be completely deleted. Here is how you go through with the process of deleting your Facebook account;
First, go to the Facebook help center where you will make an application requesting the total deletion of your account. Before you do this you will be requested to download a copy of your info from Facebook.
The deletion process will begin from two weeks after the application. In case you log in during this period to your account the deletion process will be shelved. Also, you can cancel the deletion process during this grace period.
Before deactivating your account you will be prompted to download a copy of your information from Facebook in case you need that information for future prospects.
To go on with this process, you will follow the following steps to carry it out:
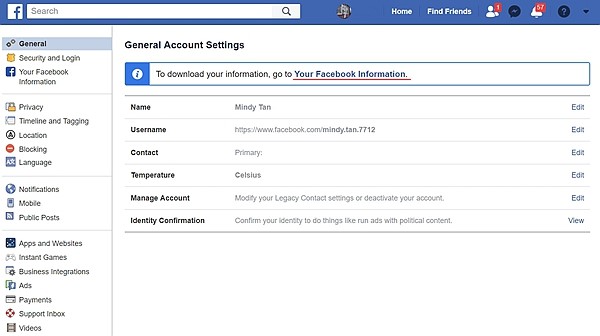
Step 1. Log in to your Facebook account and go to the settings menu.
Step 2. On that page, you will see a pop up that says,’ your facebook information’ click on this.
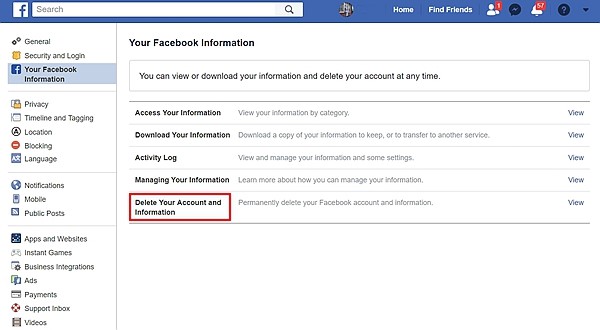
Step 3. You will be directed to your Facebook information page where you can choose to view your Facebook information, access it and also manage your activity log.
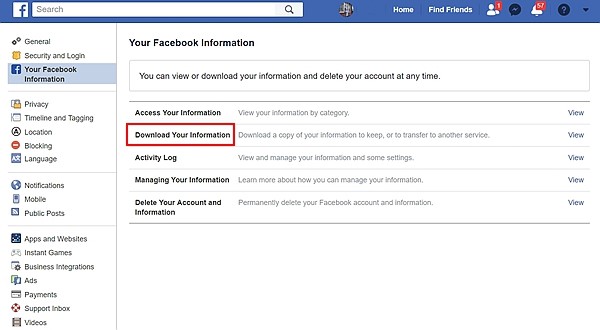
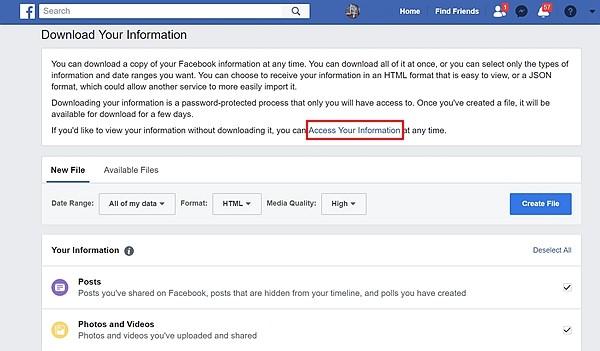
Step 4. Here you can download a copy of all your Facebook information from likes, the posts pictures among other stuff. Downloading a copy of your information is a step while deleting your Facebook account permanently. Just click on “Create Fils”.
Downloading a copy of your information will help you monitor your Facebook activities and keeping them in check.
This choice relies on your personal decision and circumstances. However, if you want to take a short-term break from the activities on this social media platform, temporarily deactivating your account is a nice option. This is also recommended if you still want access to your stored information.
If it is a severe issue such as cyberbullying as earlier seen then it will be advisable to delete your account. This is also an option if you have a minor who is prone to internet predation and bullying.