Your Phonebook contacts are very important part of your mobile data, that you may never want to lose. You might have gathered these contacts over the course of years, certainly you would want to stay intact. Therefore, you must always have a backup of your contacts. It’s preferable to save your contacts on Google Account, SD card and your phone. Saving your contacts in different places ensures that you don’t lose them. Samsung Galaxy, LG, Moto, Google Nexus, Pixel are the most popular Android devices. If you are using one of these devices, this guide will help you to save your contacts in various place. You will know, how to import and export contacts on your device and Google account, as well as, how to export SIM card contacts to Android device. So, let’s start
Part 1: Import/Export Your Contacts with SD Card
Part 2: How to Export SIM Card Contacts to your Android Device
Part 3: Import and Export Contacts with Google Account
Part 4: Manage Android Contacts Using Android Transfer Toolkit
It is very simple to export your contacts to SD Card on Android device.In fact, you should always store your contact in different places to ensure that you never lose them. Let’s see how to import and export contacts from/to SD card.
1. To start, tap contact icon on your home screen. It will display the list of all your contacts.
2. Now, press the MENU button, a screen with different options will appear. You will also see an import/export contacts option, tap it.

3. Now, you will see different options concerning “export contacts to”.
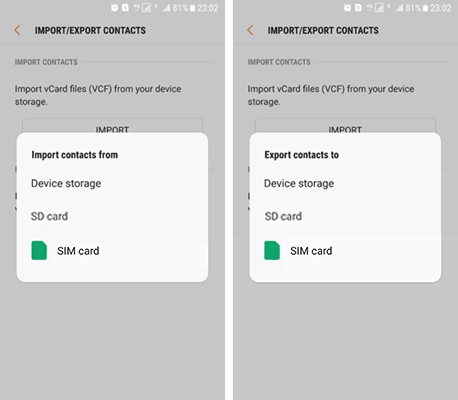
4. Select the “SD Card” option.
5. A prompt will appear to confirm the action. Tap the “OK” button.
6. The export operation will start, and your contacts will be imported from your SD card in few seconds.
1. Now, press the MENU button, a screen with different options will appear. You will also see an import/export contacts option, tap it.
2. Now, you will see different options concerning “import contacts from”.
3. Select the or “SD card” option.
4. Choose the location where you want to save the contacts.
5. A prompt will appear to confirm the action. Tap the “OK” button.
6. The import operation will start, and your contacts will be imported from your SD card in few seconds.
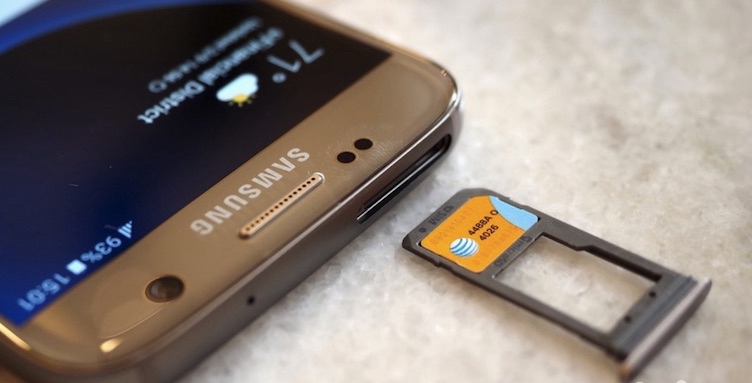
You might have purchased a new phone and want to move your contacts from sim to your Android device, let’s see how to export SIM card contacts into your android device.
1. Click the contact icon on your home screen. You will see a list of all your contact
2. Press the MENU button, and choose import/export contacts option.
3. Now choose import from SIM card.
4. A prompt will appear to confirm the action, Press OK.
5. The import action will start, and your contacts will be moved in few seconds.
In order to import/export contacts with Google account, you need to sign in to your Gmail Account. Ensure that you have associated with Google account on your Android device where you want to import/export your contacts.
To export your Google Contact, please follow these steps
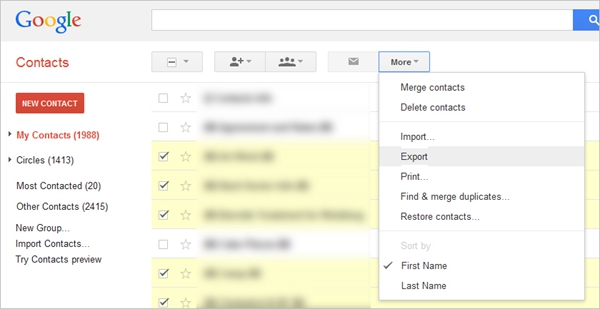
1. Go to Google Contacts website from computer browser.
2. Select the contacts you want to export, you can select them individually else, if you have already grouped your contacts you can select that group in the next step
3. Now click the “More” button from the top bar and select export and choose the contacts you want to export.
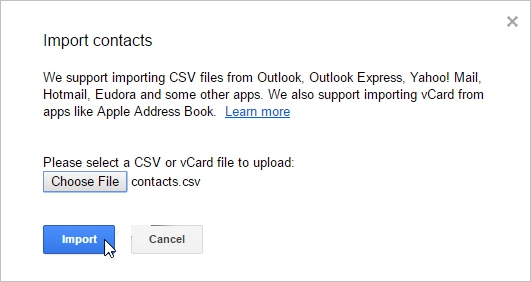
4. You will also see different options for format (CSV or vCard file). Select the one that suits your need.

5. Once you click “Export” the contacts will be downloaded to your device in the selected format.
6. Now you can use the downloaded file anywhere. Simply import the file into your device.
If you want to use this CSV/vCard file to save contacts into your device. Transfer the file into your SD card and import the contacts from SD card to your device.
To export your contacts to Google Account, follow these steps
1. Tap the contact Icon from your homepage. Once you tap the icon a list of options will appear.
2. From the list, choose the Import option.
3. Now, tap the Google option
4. You will be asked to choose the vCard File. If you have multiple file, you will be asked to select the one you want to import.
5. Once you select a vCard File, a prompt screen will appear to confirm the import action. Tap OK.
6. The import process will start. In few seconds all of your contacts will be moved to your Google Account.
Android Transfer is a great software for transferring, backing up & restoring data. It lets you preview and selectively export the type of data you want include contacts, messages, photos, audio, videos and even application data (for rooted devices). Also, during transfer (import & export), backup and restoration, no data is lost- the software doesn’t overwrite any existing files. Moreover, your data retain their original quality.
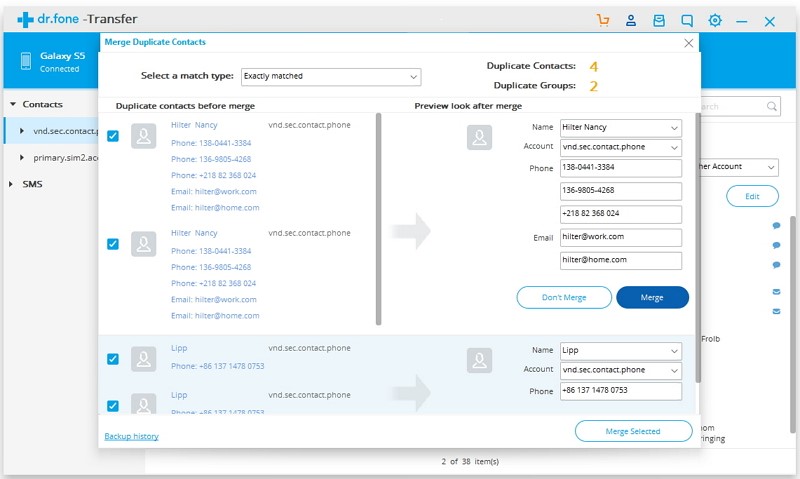
Step-By-Step Guide on How to Export & Import Contacts and merge duplicate contacts on Android Using Android Transfer.
Download WinDownload Mac
Step 1. Download and Install the Android Transfer toolkit on your PC.
Run the software then select the “Transfer” option from all the software functions.
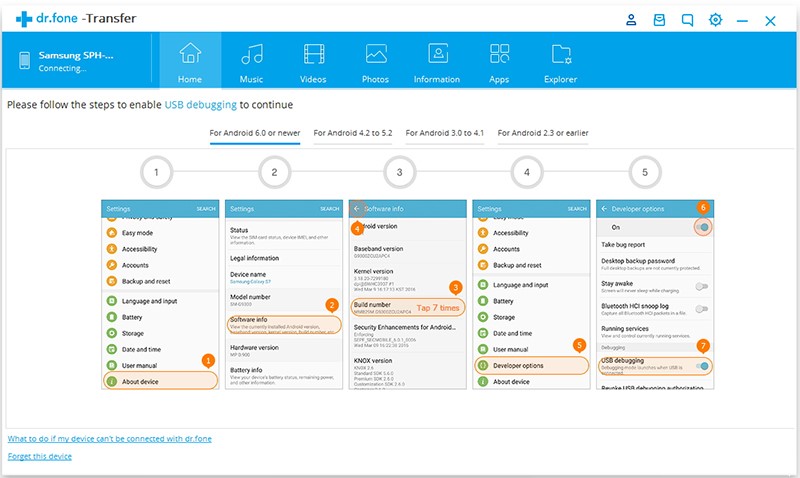
Step 2. Use the original Cable to connect your phone or tablet to your computer.
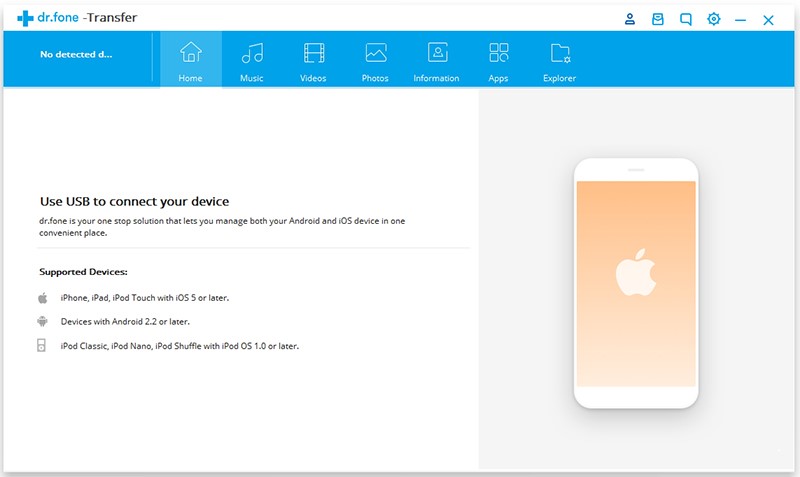
Make sure that you enable your device’s USB debugging.
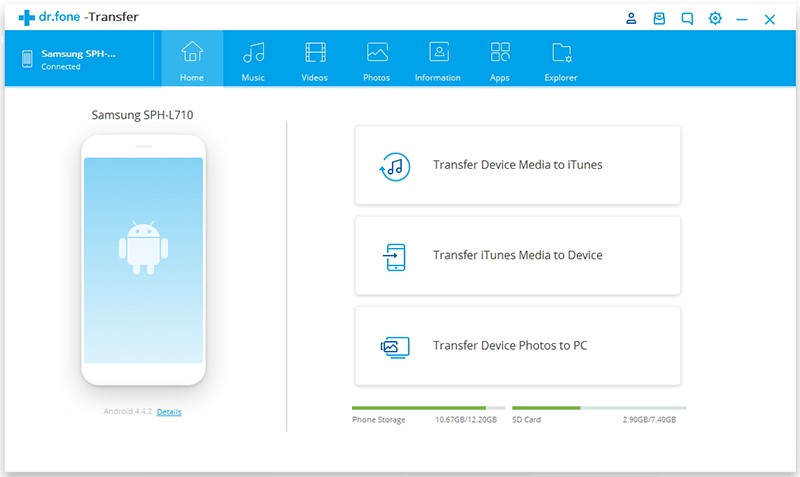
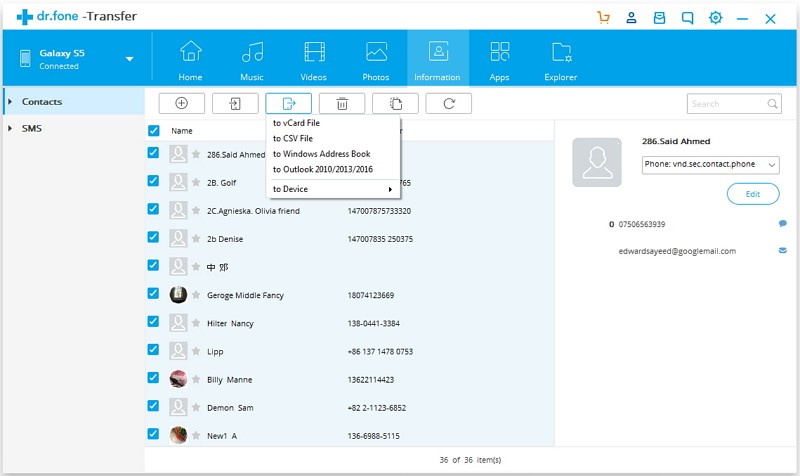
Step 3. In the main window, click “Information”> “Contacts.”
In the contact management window, select the contacts you want to export or tick the top box to select all contacts, next click the “Export” button> Export selected contacts to computer as vCard file, CSV file, or export to Windows Address Book/Outlook.
You can export contacts to another device by click on “to Device” option.
Repeat Step 1 & 2.
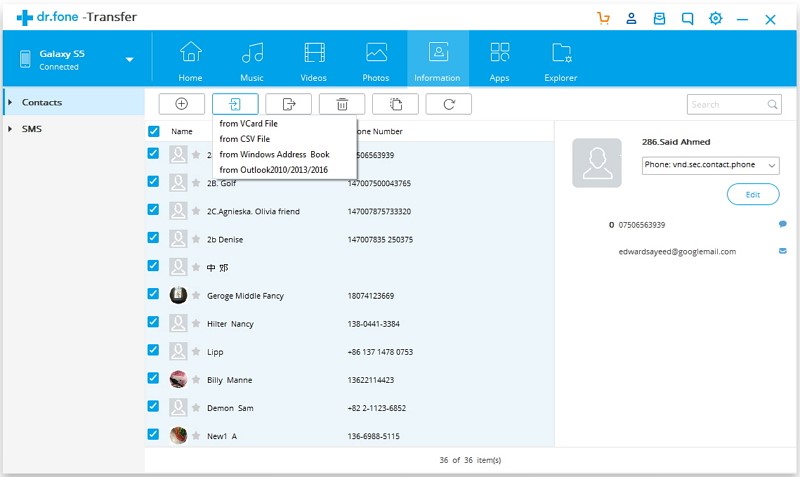
Step 3. From the software’s primary window, click “Information,”> “Contacts” and the program will bring up the contact management window.
Click the “Import” button> “Import contacts from computer with CSV file/vCard file, or from Windows Address Book/Outlook Express.
Repeat Step 1 & 2.
Step 3. Click Information> Contacts and then the Android contact management options will show up in the top bar.
Select the “Merge” button and check the duplicate contacts. Next click the “Merge selected.”
This guide covers all the basic import/export functions that you might need to perform on your Android device to save or reuse your contacts. The steps mentioned in the guide are same for all Android devices including Samsung Galaxy, LG, Moto, Google Nexus/Pixel. I hope this guide helps you. GOOD LUCK!